How to record your screen with microphone audio
ScreenApp comes with the option to capture your microphone audio whilst recording your screen so you can make your screen recordings engaging more than ever. Follow along as we take you through a step-by-step process on how you can record your screen with microphone audio in order to add a voice overlay to your screen recordings.
Step 1
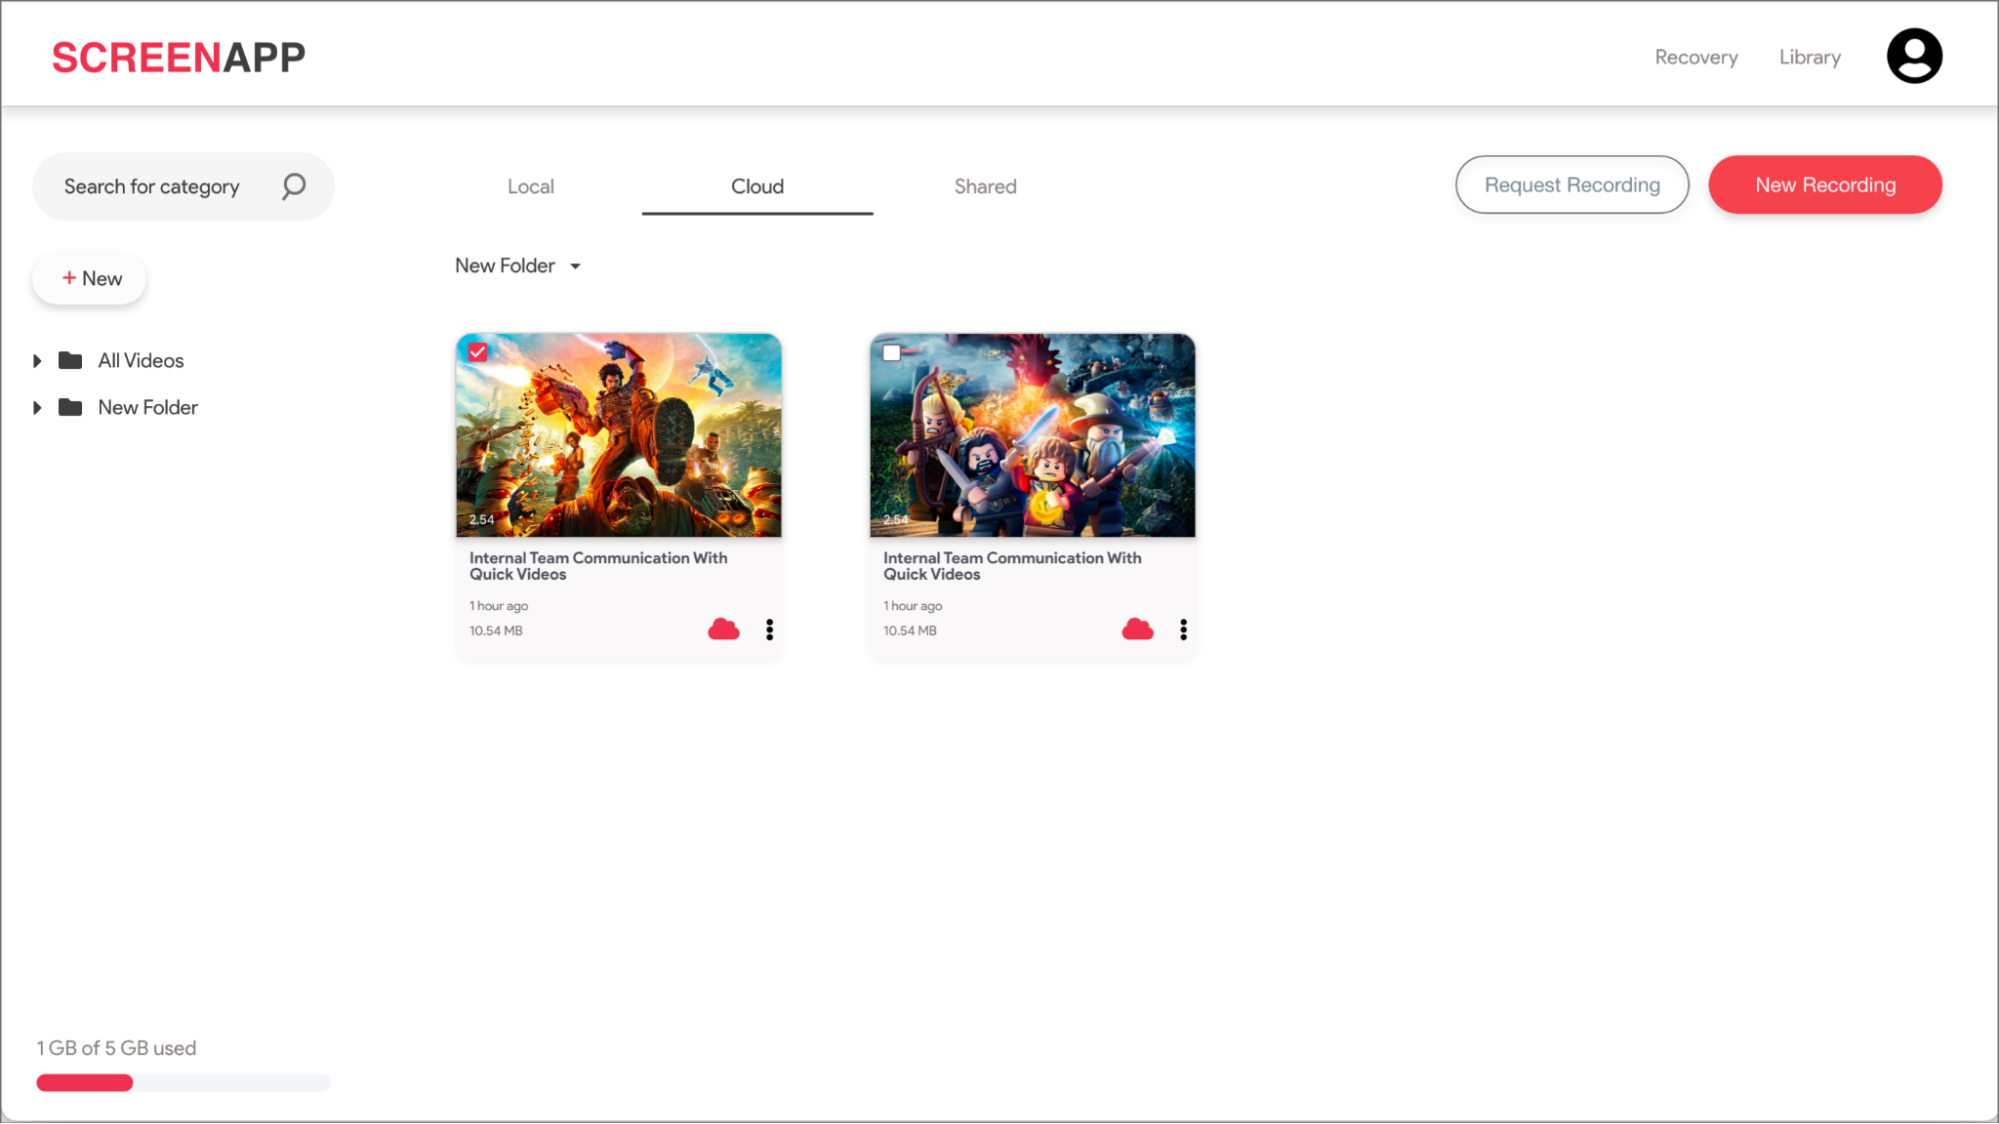
Sign in to your ScreenApp account and click New Recording at the top right-hand corner of the dashboard.
Step 2
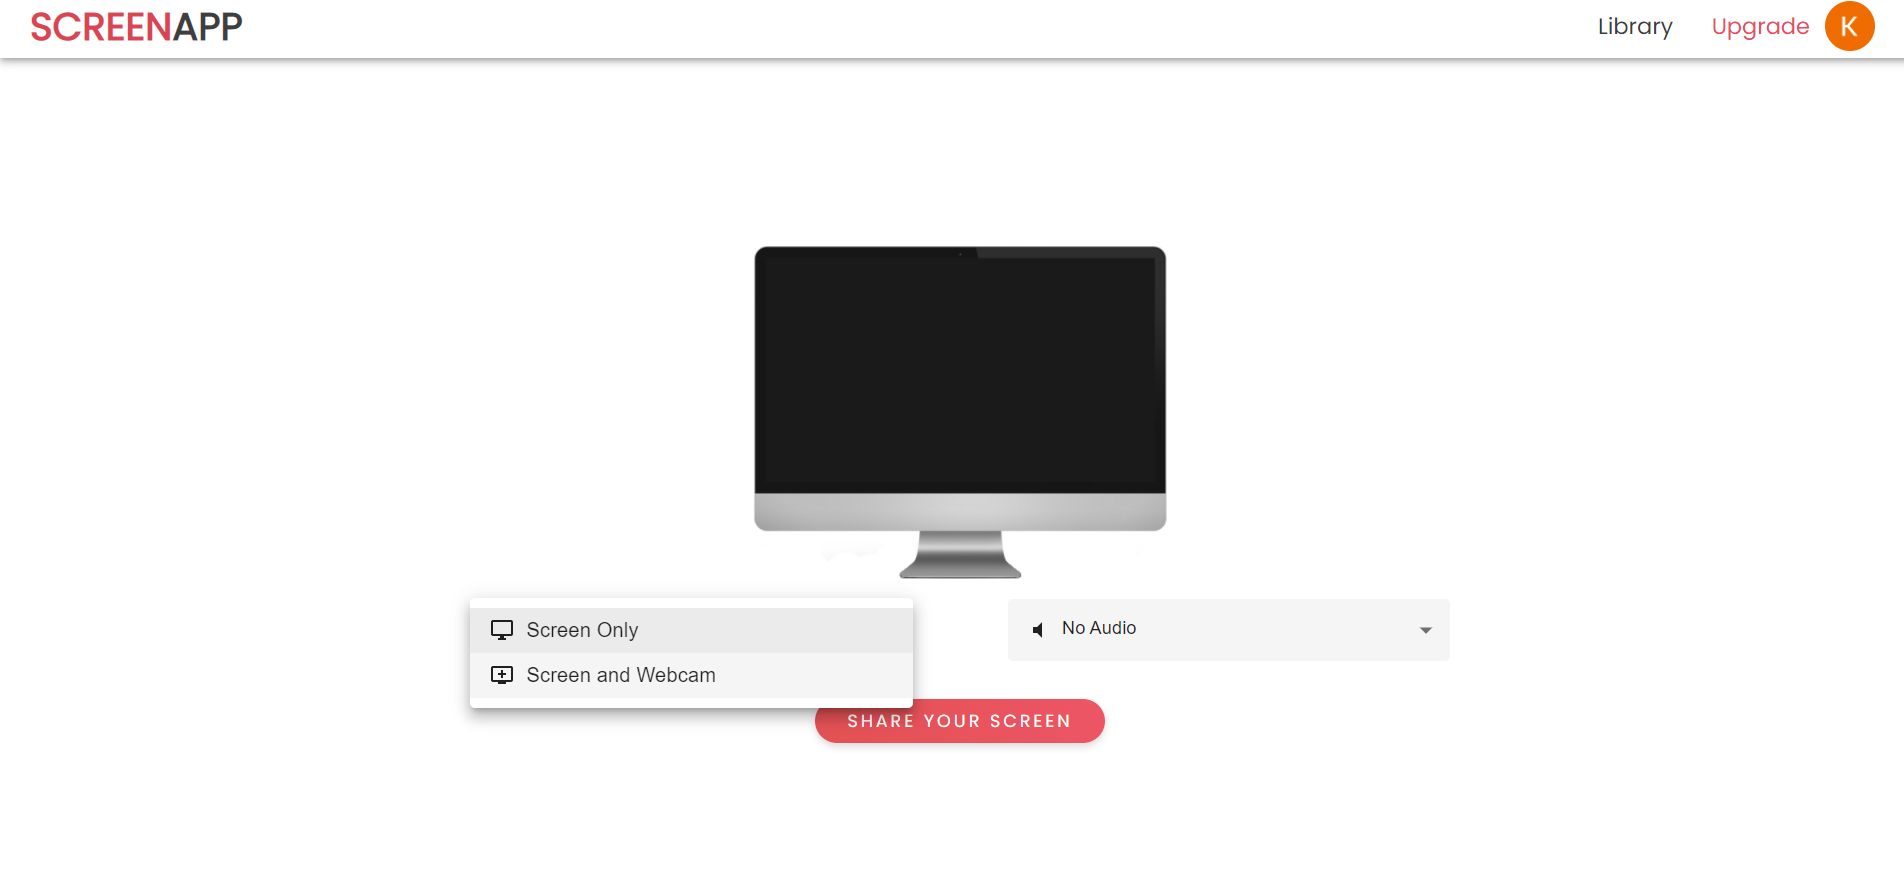
Select whether you want to record only your screen or your screen and webcam from the first drop-down menu.
Step 3
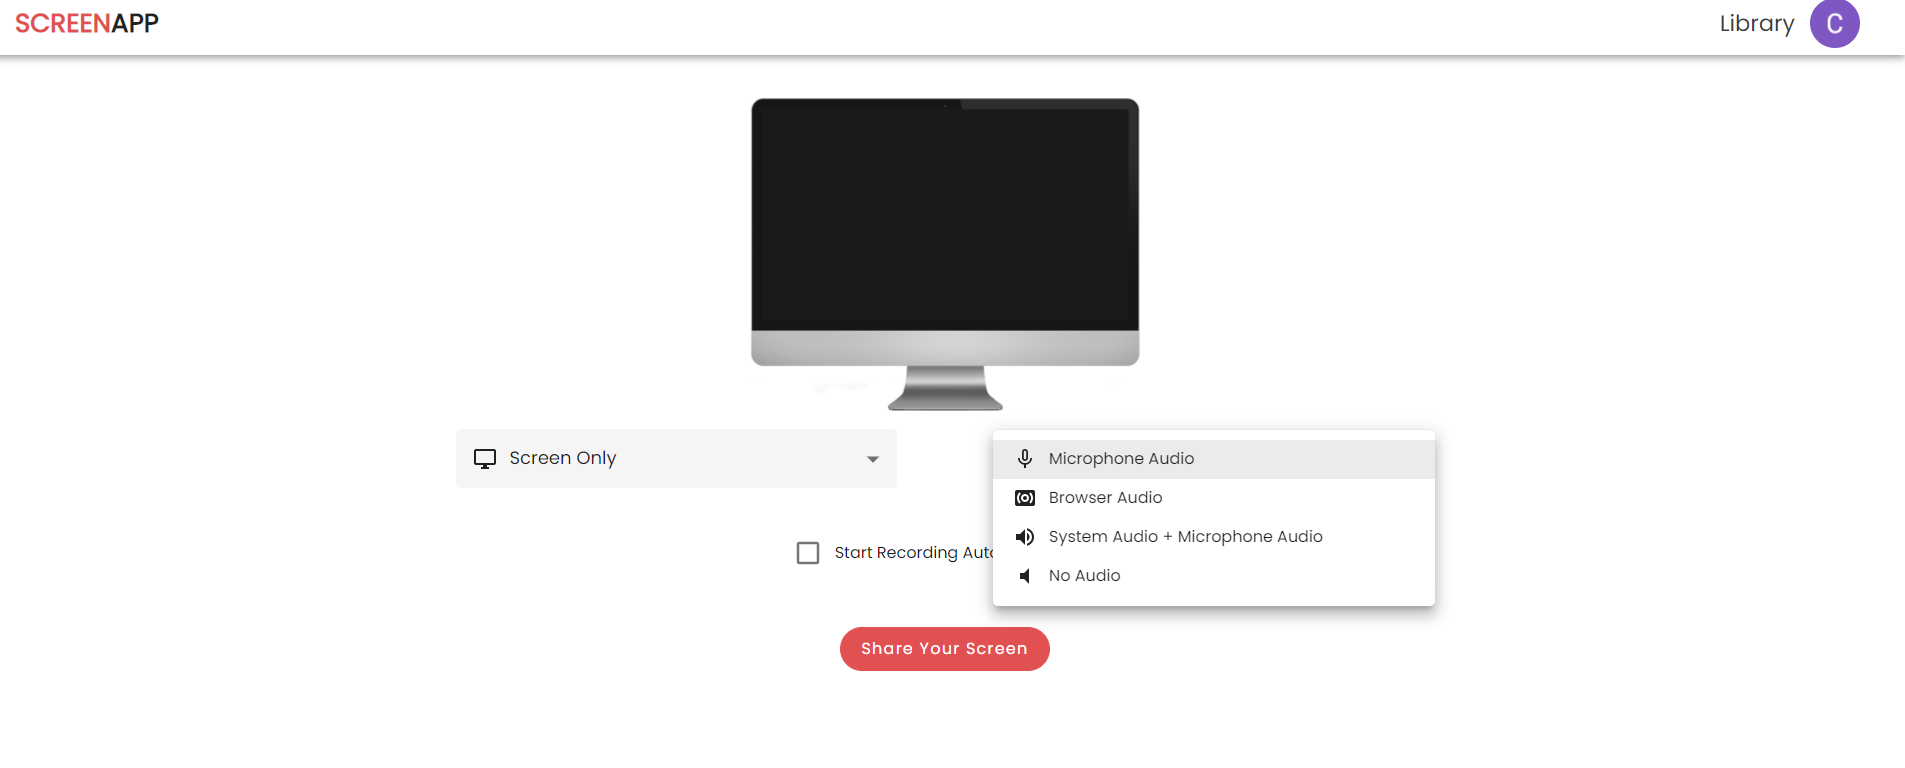
Select Microphone Audio from the second drop-down menu.
Step 4
Hit the Share Your Screen button.

Step 5
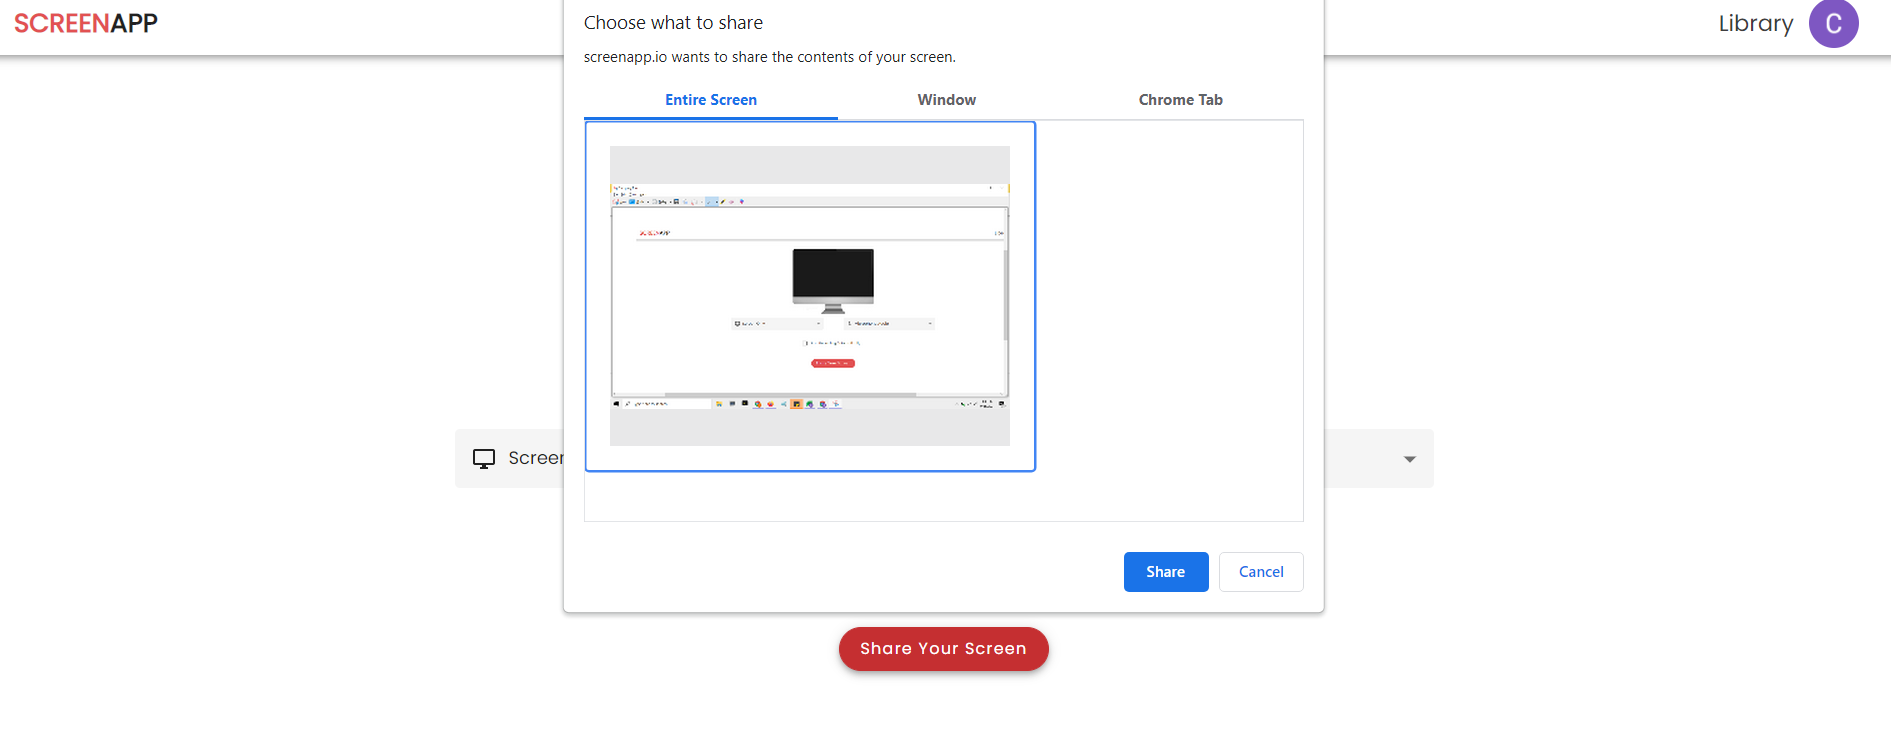
Select whether you want to record your entire screen, a single application/window or a single tab of your browser. (While ScreenApp provides you with multiple screen recording options, we recommend using the entire screen option every time).
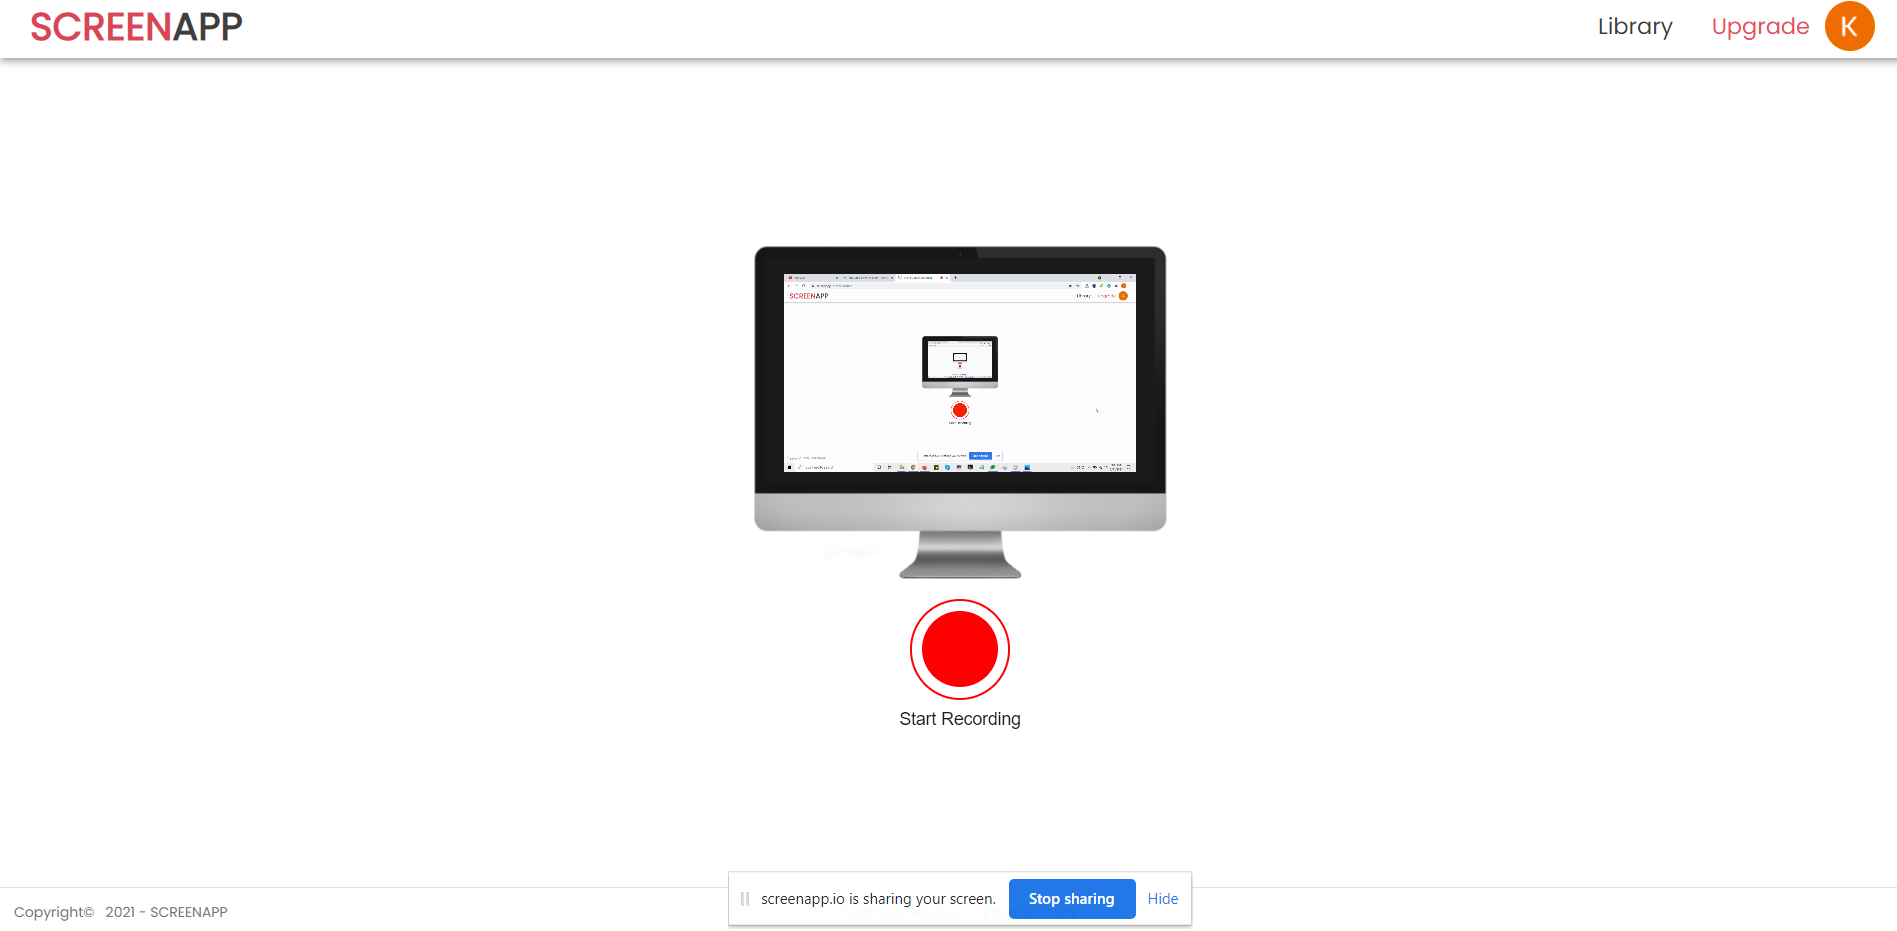
Step 6
Select Start Recording to begin recording your screen
Step 7
Hit Stop Recording once you are done recording.

Benefits and use cases for recording your screen with microphone audio
The option to record your microphone audio whilst capturing your on-screen activity can come in handy at various events as follows.
-
Step-by-step video tutorials - Create easy-to-follow step-by-step tutorials while capturing the on-screen steps and adding a voice narration to make the videos more engaging.
-
Presentations and educational videos - Teachers, professors and similar professionals can create effective educational videos by capturing the on-screen visual content while using the microphone to further describe the content presented.
If you love ScreenApp and believe that it makes your life much easier, we would love you to share us with your friends on Facebook and LinkedIn.
Feel free to write to us for any information, queries, and comments about ScreenApp at support@screenapp.io.