Why Record Audio?
Audio recording captures spoken content for documentation, content creation, or personal reference. Whether you’re recording voice memos, podcasts, interviews, or lectures, high-quality audio with automatic transcription makes content searchable and shareable.
Common audio recording uses:
- Voice memos: Quick thoughts, reminders, ideas on-the-go
- Podcasts: Episodes, interviews, discussions for distribution
- Interviews: Journalism, research, HR conversations
- Lectures and courses: Educational content for students
- Meetings and calls: Documentation with transcripts
- Music and vocals: Creative recording and demos
What You’ll Need
Before recording audio:
- Microphone (built-in, USB, headset, or phone)
- ScreenApp account (free at screenapp.io)
- Quiet environment or noise cancellation
- Internet connection for AI processing
- Headphones for monitoring (optional but recommended)
Hardware options (March 19, 2026): Dedicated AI voice recorders like RecPoint Note and Itel AI Voice Recorder now offer built-in live transcription and searchable libraries as standalone alternatives to software-based recording.
How ScreenApp Audio Recording Works
ScreenApp provides intelligent audio capture:
- Microphone Selection: Choose from available audio inputs
- AI Noise Reduction: Real-time background noise removal
- High-Quality Recording: Up to 48kHz sample rate, professional quality
- Automatic Transcription: Speech-to-text as you record or after
- Smart Storage: Cloud library with searchable transcripts
ScreenApp advantages:
- Browser-based (no software installation)
- AI removes background noise automatically
- Instant transcription (99% accuracy)
- Searchable audio library
- Share via link (no file size limits)
Step-by-Step: Record Audio
Step 1: Start New Audio Recording
- Go to ScreenApp Audio Recorder
- Click “Record Audio” button
- Browser requests microphone permission
- Click “Allow” to grant access
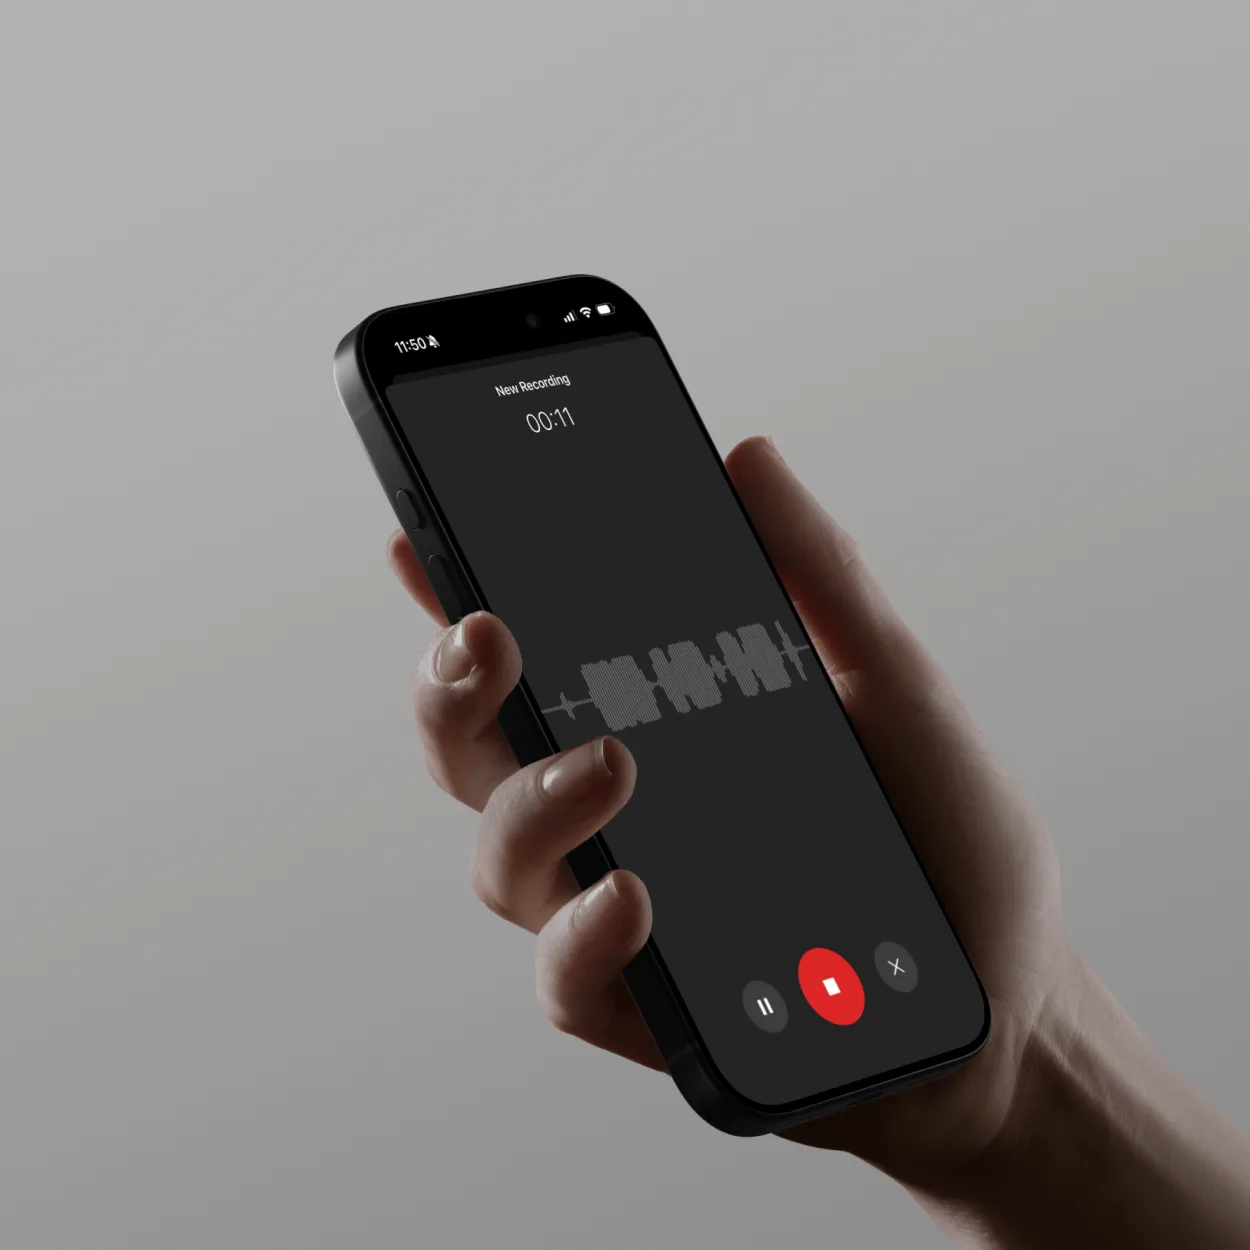
Recording interface appears with:
- Microphone selector dropdown
- Input level meter (visual feedback)
- Record button (red circle)
- Recording timer (shows duration)
- Pause and Stop controls
Step 2: Select Your Microphone
Click the “Microphone” dropdown to see available devices:
Common microphone types:
Built-in Microphone:
- Name: “Internal Microphone” or “[Device] Microphone”
- Pros: Always available, no setup
- Cons: Lower quality, picks up keyboard/fan noise
- Best for: Quick voice memos, casual recordings
USB Microphone:
- Name: Brand/model appears (e.g., “Blue Yeti”, “Rode NT-USB”)
- Pros: Professional quality, clear audio, good value
- Cons: Less portable, desk space required
- Best for: Podcasts, voiceovers, music, professional content
Headset Microphone:
- Name: Headphone model (e.g., “AirPods Pro”, “HyperX Cloud”)
- Pros: Close to mouth = clear audio, blocks ambient noise
- Cons: May sound “confined” if low quality
- Best for: Long recordings, interviews, calls
Audio Interface:
- Name: Interface model + input number (e.g., “Focusrite Scarlett Input 1”)
- Pros: Highest quality, professional features
- Cons: Expensive, complex setup
- Best for: Music recording, broadcast, studio podcasts
After selecting microphone:
- Speak normally to test
- Watch input level meter move
- Green bars = good level
- Red bars = too loud (move back or reduce gain)
Step 3: Configure Recording Settings
Basic Settings:
AI Noise Cancellation:
- Toggle ON for automatic background noise removal
- Removes:
- Fan and AC sounds
- Traffic noise
- Keyboard typing
- Paper rustling
- Room echo
- Keep voice clarity while eliminating distractions
Audio Quality:
- High (48kHz/320kbps): Professional quality, larger files
- Standard (44.1kHz/192kbps): Good quality, balanced file size (recommended)
- Low (22kHz/128kbps): Voice memos, smallest files
Auto-Transcription:
- Enable to get transcript while recording
- Speech-to-text processes in real-time
- Results appear moments after speaking
Advanced Settings (Optional):
Input Gain:
- Adjusts microphone sensitivity
- Increase if too quiet
- Decrease if distorting (red levels)
Sample Rate:
- 48kHz: Professional standard
- 44.1kHz: CD quality
- 22kHz: Voice-optimized
Format:
- MP3: Compressed, smaller files, universal compatibility
- WAV: Uncompressed, highest quality, large files
- M4A: Apple format, good compression
Step 4: Start Recording
- Click red “Record” button
- Recording starts immediately
- Timer begins counting (00:00:00)
- Input level meter shows your voice levels
- Speak clearly at normal volume
Recording best practices:
Before you speak:
- Take a breath to avoid starting mid-inhale
- Pause 1-2 seconds before speaking (easier to edit later)
- Check input levels are green (not red)
While recording:
- Maintain consistent distance from microphone (6-8 inches ideal)
- Speak clearly at normal pace (not too fast or slow)
- Pause between major thoughts or sections
- Avoid rustling papers or tapping desk
- Minimize mouth sounds (clicks, smacks)
Voice technique:
- Enunciate clearly (especially consonants)
- Vary your tone to maintain listener interest
- Project from diaphragm (not throat)
- Hydrate before long recordings
Monitoring your audio:
- Watch input levels stay in green zone
- Listen with headphones if possible (catches issues immediately)
- Pause if you hear problems (noise, distortion, etc.)
Step 5: Pause and Resume (Optional)
Need a break during recording?
- Click “Pause” button
- Recording freezes (timer stops)
- Take break, prepare next section, or fix interruption
- Click “Resume” to continue
- Recording continues seamlessly (pause not included in final audio)
When to use pause:
- Phone rings or someone interrupts
- Need to cough, sneeze, or clear throat
- Switching to new topic or section
- Taking notes or checking script
- Adjusting microphone or environment
Pause vs. Stop:
- Pause: Temporary break, same recording session
- Stop: Ends recording, saves as separate file
Step 6: Stop and Save Recording
When finished:
- Click red “Stop” button
- Recording ends and processes automatically
- ScreenApp:
- Uploads audio to cloud
- Applies AI noise reduction
- Generates automatic transcript
- Creates AI summary
- Saves to your library
Processing time:
- Short recording (< 5 min): 10-30 seconds
- Medium recording (5-30 min): 30-90 seconds
- Long recording (30+ min): 1-3 minutes
What’s created:
- Audio file: MP3 or WAV (based on settings)
- Transcript: Full speech-to-text with timestamps
- AI Summary: Key points and main topics
- Metadata: Duration, date, recording device used
Recording Different Content Types
Voice Memos and Quick Notes
Use case: Capture ideas, reminders, to-do lists
Recording approach:
- Click “Record Audio” (no setup needed)
- Speak your thought clearly
- Stop recording (even just 10 seconds is fine)
- Automatic transcript converts to searchable text
Benefits:
- Faster than typing on phone
- Hands-free when commuting
- Never lose ideas
- Search by keyword later
Example voice memo: “Reminder to email Sarah about Q1 budget review. Include updated projections from marketing department. Due Friday.”
Result:
- Searchable by “Sarah”, “budget”, “marketing”, or “Friday”
- Transcript shows exact words
- Add to task manager or calendar
Podcast Recording
Use case: Create episodic audio content for distribution
Recording approach:
Solo podcast:
- Prepare outline or script
- Enable “High Quality” audio (48kHz)
- Use USB microphone for best sound
- Record entire episode in one take (or pause between sections)
- Download MP3 for editing or distribution
Interview podcast:
- Record your side locally
- Guest records their side (or use screen recording with audio for remote interviews)
- ScreenApp captures both audio tracks
- Automatic speaker diarization labels who spoke when
- Transcript shows conversation flow
Podcast best practices:
- Record intro, main content, and outro separately (easier editing)
- Use consistent mic distance throughout
- Leave 3-5 seconds silence at start (room tone for editing)
- Speak energetically (audio-only medium needs vocal variety)
Interview Recording
Use case: Journalism, research, HR conversations, user interviews
Recording approach:
In-person interviews:
- Place phone or mic between you and interviewee
- Test recording briefly before starting
- Announce names at beginning: “This is [your name] interviewing [their name] on [date]”
- Record entire conversation
- Automatic transcript labels speakers (Speaker 1, Speaker 2)
- Rename speakers in transcript later
Remote interviews (phone/video):
- Use ScreenApp “Record Screen + Audio” for video calls
- Or use “Audio Recorder” for phone calls (speaker mode)
- Transcript captures both sides of conversation
- AI identifies and labels different speakers
Interview tips:
- Get permission to record (legal requirement in many jurisdictions)
- Test equipment beforehand
- Have backup recording device (phone) as safety
- Take minimal notes (focus on conversation)
- Review transcript after for quotes and key points
Lecture and Educational Recording
Use case: Students, educators, online courses
Recording approach:
Recording lectures:
- Sit close to speaker for clear audio
- Enable AI Noise Cancellation (reduces classroom sounds)
- Record entire lecture
- Automatic transcript for review and study
Creating course content:
- Prepare lesson plan or slides
- Record explanation in sections
- Pause between topics
- Export audio + transcript as course materials
Student benefits:
- Review confusing sections multiple times
- Search transcript for specific topics
- Study at own pace
- Accessible for hearing-impaired students
Advanced Audio Recording Features
Live Transcription Preview
See transcript appear in real-time while recording:
- Enable “Live Transcription”
- As you speak, text appears on screen
- Catch errors immediately
- Verify microphone is picking up voice clearly
Use cases:
- Ensure recording is working
- See if AI understands your accent or terminology
- Catch mumbled or unclear words during recording
Multi-Track Recording
Record multiple audio sources simultaneously:
Example: Podcast with co-host
- Both speakers use separate microphones
- ScreenApp records both as separate tracks
- Automatic speaker diarization labels each person
- Export with or without separate tracks
Benefits:
- Edit each speaker independently
- Adjust volume balance per speaker
- Remove one speaker’s cough without affecting other
- Professional multi-track editing capability
Scheduled Recordings
Set up recordings to start automatically:
- Click “Schedule Recording”
- Set start time and duration
- ScreenApp starts recording at specified time
- Auto-stops after duration expires
Use cases:
- Record radio shows or broadcasts
- Capture scheduled calls automatically
- Time-based reminders or announcements
Editing and Exporting Audio
Basic Audio Editing
After recording, make simple edits:
Trim beginning/end:
- Open recording in library
- Click “Edit” button
- Drag handles to trim unwanted sections
- Remove silence before speaking or after finishing
Cut middle sections:
- Select portion to remove (mistakes, long pauses, interruptions)
- Click “Cut” or press Delete
- Remaining audio joins seamlessly
Volume normalization:
- Click “Normalize Audio”
- AI adjusts entire recording to optimal volume
- Quiet sections raised, loud sections lowered
- Consistent listening experience
Export Options
Download or share recorded audio:
MP3 Audio:
- Click “Download” > “MP3”
- Compressed format, small file size
- Universal compatibility (all devices/players)
- Best for: Sharing, podcasts, voice memos
WAV Audio:
- Click “Download” > “WAV”
- Uncompressed, highest quality
- Large file size
- Best for: Professional editing, music production, archival
Transcript Exports:
- PDF: Formatted document with timestamps
- Word (DOCX): Editable document
- TXT: Plain text, no formatting
- SRT/VTT: Subtitle format
Share Link:
- Click “Share”
- Copy shareable URL
- Recipients listen in browser (no download needed)
- Includes audio player + transcript
Troubleshooting Common Issues
No Audio Recorded
Causes:
- Wrong microphone selected
- Microphone muted in system settings
- Permission denied to browser
- Faulty microphone or connection
Solutions:
- Check microphone selected in dropdown (try each option)
- System Settings > Sound > Input > Verify mic enabled and volume > 50%
- Browser address bar > Click mic icon > Allow permission
- Test mic in another app (Zoom, QuickTime) to verify it works
- Try different browser if issue persists
Recording Sounds Distorted
Causes:
- Input level too high (clipping)
- Microphone too close to mouth
- Low-quality microphone at high gain
Solutions:
- Move microphone farther from mouth (12-18 inches)
- Reduce input volume in system settings (try 50-70%)
- Speak less loudly or disable mic boost
- Watch input levels stay in green zone (not red)
Lots of Background Noise
Causes:
- Noisy environment
- High microphone sensitivity
- No noise cancellation enabled
Solutions:
- Enable “AI Noise Cancellation” in ScreenApp
- Move to quieter room
- Close windows, turn off fans/AC
- Use directional microphone (cardioid pattern) pointed away from noise
- Record during quieter times of day
Transcript Inaccurate
Causes:
- Poor audio quality
- Heavy accent or unclear speech
- Technical jargon or uncommon words
- Multiple speakers talking over each other
Solutions:
- Speak more clearly and slowly
- Improve audio quality (better mic, quieter environment)
- Edit transcript manually after recording
- Add custom vocabulary for technical terms (Pro feature)
Next Steps
Now that you know how to record audio with AI, explore these related guides:
- How to Transcribe Audio to Text - Advanced transcription techniques
- How to Convert Videos - Extract audio from videos
- Meeting Notes Best Practices - Document conversations effectively
Start Recording Audio Today
ScreenApp makes audio recording effortless with browser-based capture, AI noise cancellation, automatic transcription, and searchable cloud storage for all your recordings.
Ready to record your first audio? Start using ScreenApp for free and follow this guide.